---
title: "Make Your Brand Pop With Yotpo"
slug: "make-your-brand-pop-with-yotpo"
tags: ["Reviews "]
updated: 2023-09-03T12:47:54Z
published: 2023-09-03T12:47:54Z
canonical: "support.yotpo.com/make-your-brand-pop-with-yotpo"
excludeFromSearch: true
excludeFromExternalSearch: true
---
> ## Documentation Index
> Fetch the complete documentation index at: https://support.yotpo.com/llms.txt
> Use this file to discover all available pages before exploring further.
# Make Your Brand Pop With Yotpo
Products
Reviews
###### Supported plans
N/A
###### eCommerce Platform
N/A
We've gathered some neat tips and tricks you can implement on-site and in your Yotpo emails to make the best of Yotpo. These small tweaks can go a long way when it comes to visual aesthetics.
## Email Customization
Use our [Email Template Editor feature](/v1/docs/customizing-your-email) to implement visual elements into your Yotpo emails to match the look and feel of your brand.
**Please note:**
- Email customization may not look ideal on Outlook accounts due to Outlook’s limited CSS support
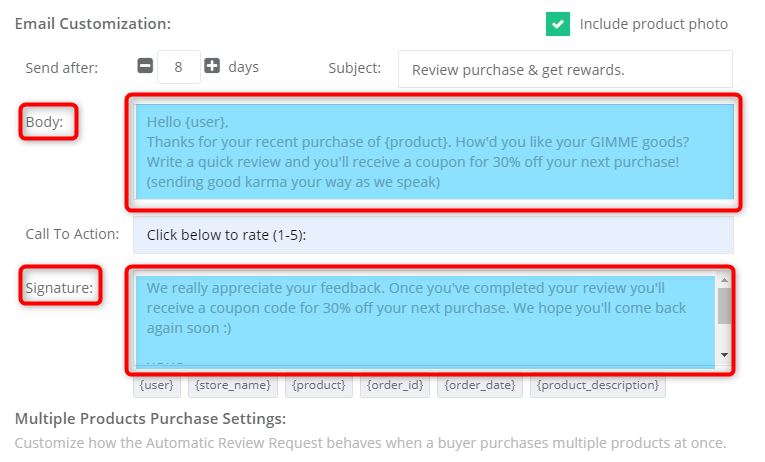
- When the Template Editor is turned on, it **resets the text in the "body" and "signature" sections of an email** to the default English text:
### Access the Email Template Editor
All of the following code implementations need to be added to the Email Template Editor, which can be found in your Yotpo account.
**To access the editor:**
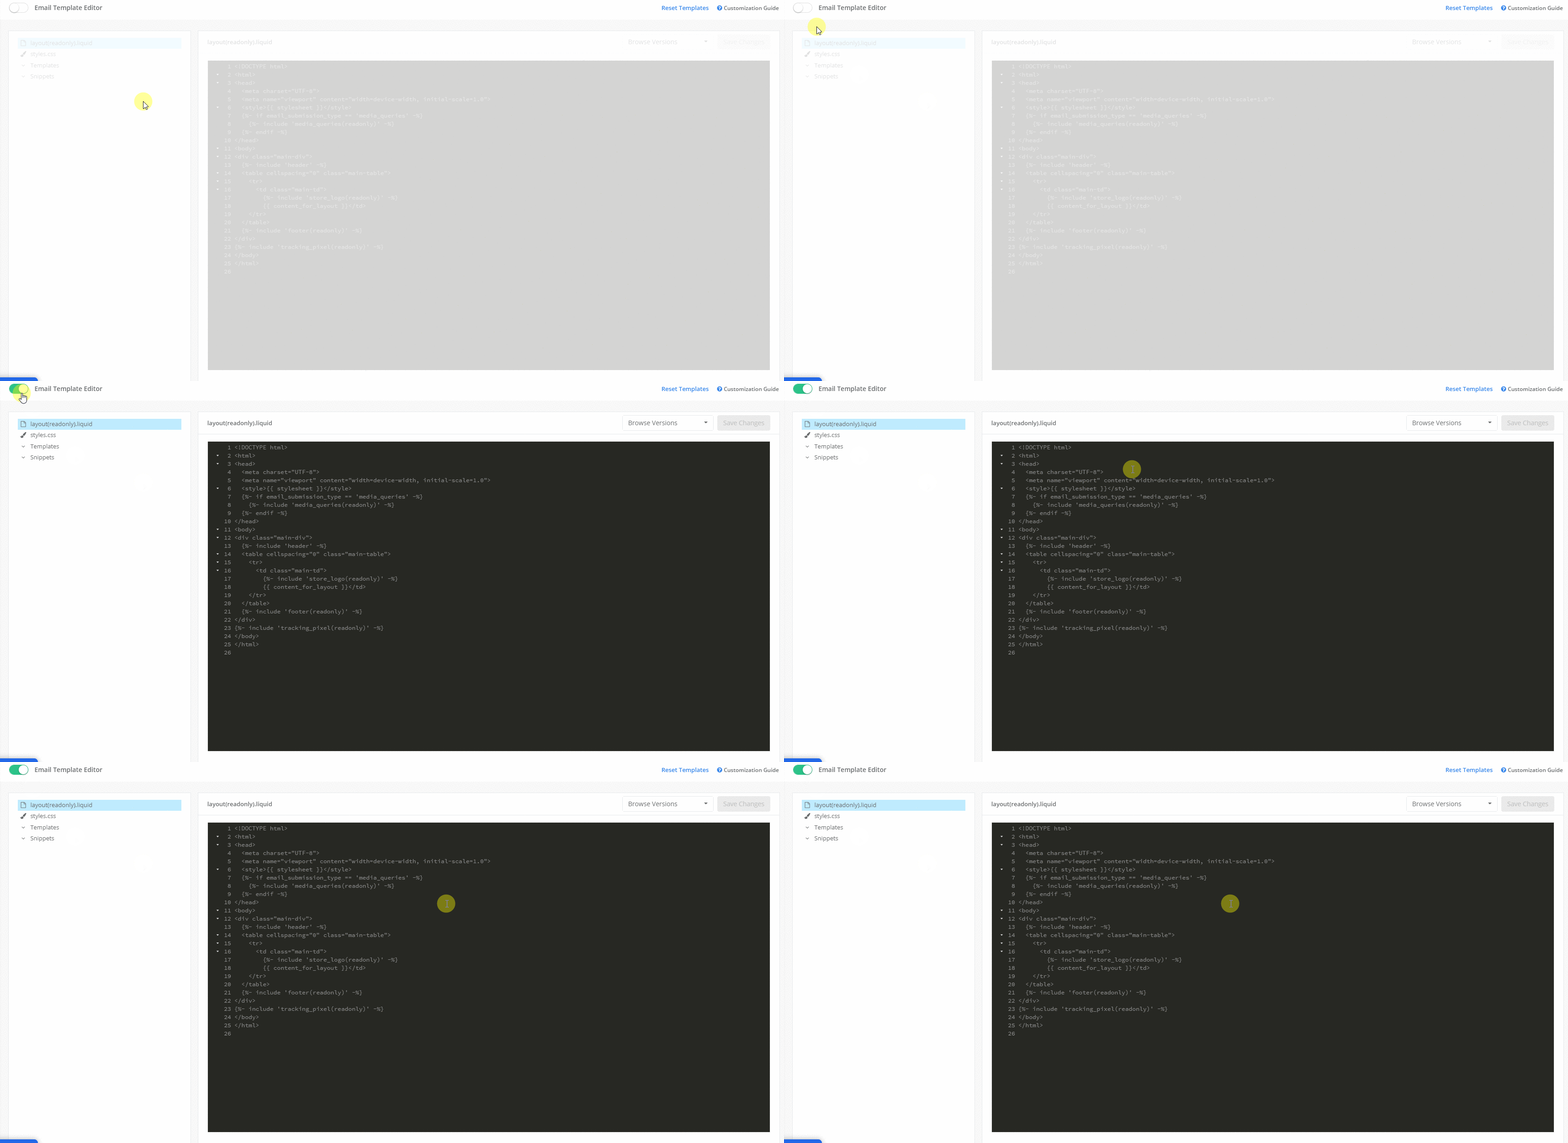
1. From your Yotpo Reviews main menu, go to **Emails** > [**Email Template Editor**](https://reviews.yotpo.com/#/tools/email_template_editor).
2. **Enable** the editor.
---
### Add a Banner
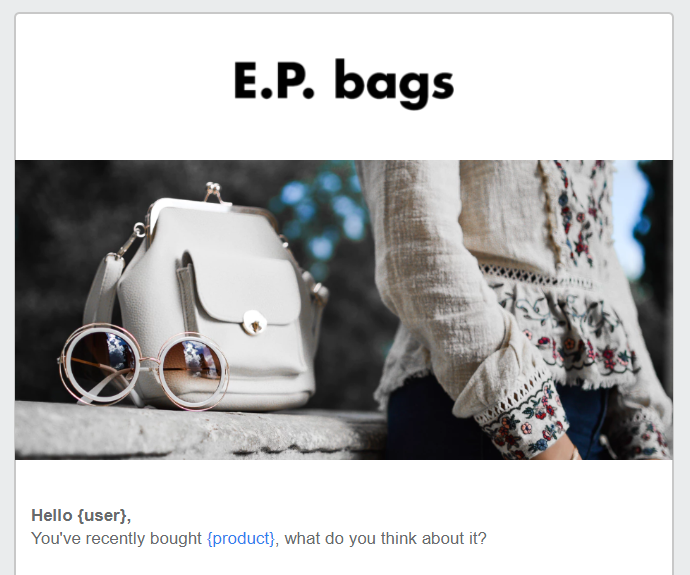
Adding a banner to your emails makes your brand appear more prominently to customers, and gives a little somethin'-somethin' to the overall design. It can also be a great and easy way to add some holiday cheer to your emails during the holidays.
**To add a banner:**
1. Click **Reviews.**
2. Choose the **product_review_requestX.liquid** template.
3. **Add the following code** to the top of the editor window, below the **{%- endcomment -%}** section:
Banner size:The recommended image size for the banner is 600X250px
```css
 ```
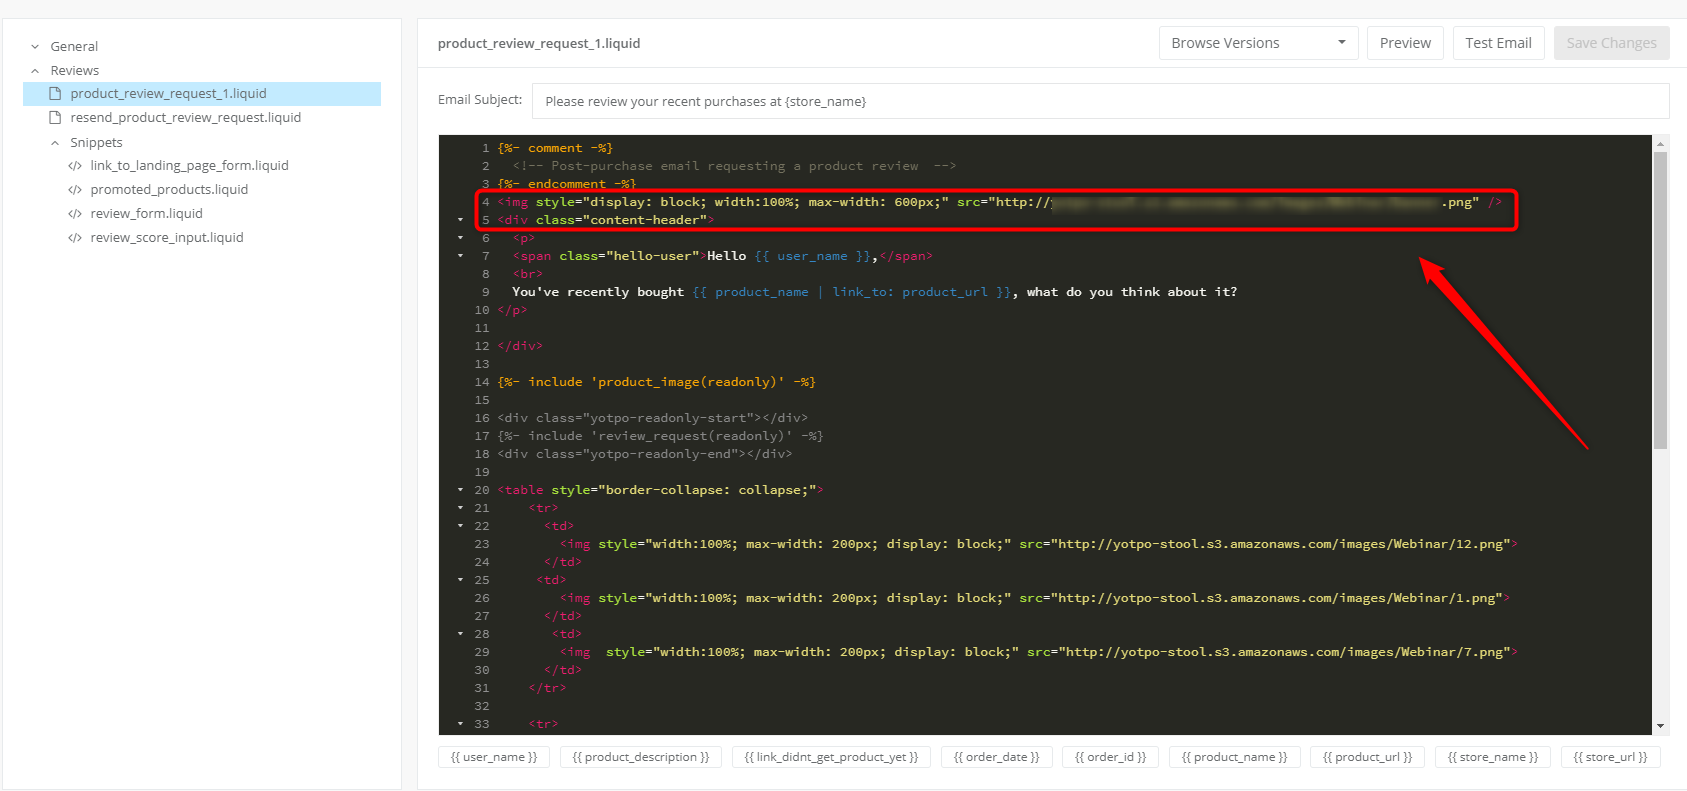
Please note:Change the **###BANNER IMAGE URL###** section of the code with the relevant image URL
### Form Styling
Choose the implementation codes that are relevant to you and add them to the
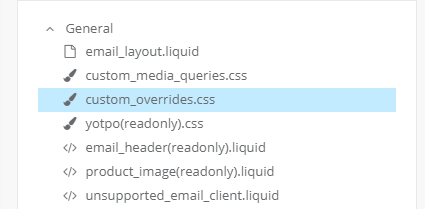
**General > custom_overrides.css** section of the editor to spice up the review request form:
#### Change Star Rating Color

Paste the code below to change the stars to any color you desire
```css
.stars-container {
color: ###COLOR_CODE###;
}
```
Choose your color!Make sure to change the **###COLOR CODE###** section of the code to the color of your choosing. The code should look like this: **#848484**
#### Center Stars
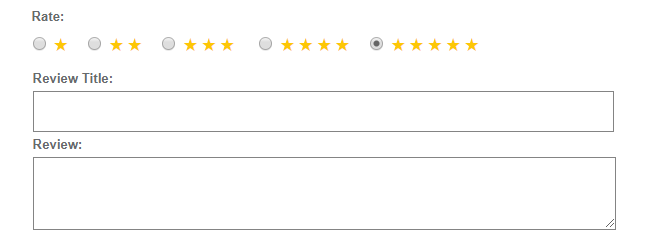
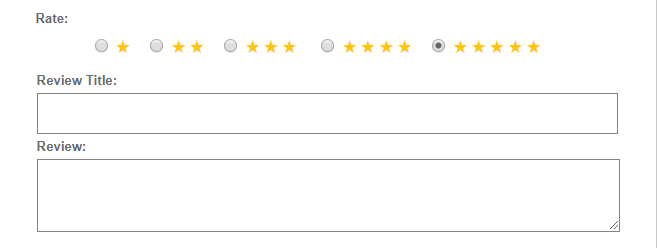
The stars are aligned to the left by default setting. The following code allows you to center them:
```css
.stars-container {
text-align: center;
}
```
Before Centering:
After Centering:
#### Change Button
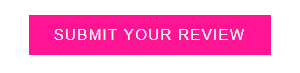
The code box below contains several adjustments you can add to change the "Submit Your Review" button element. Each change is outlined with a headline in red:
```css
.submit {
/* Change button color */
background-color: ###COLOR_CODE###;
/* Give button sharp edges */
border-radius: 0;
-moz-border-radius: 0;
-webkit-border-radius: 0;
/*Changes button text to uppercase*/
text-transform: uppercase;
/*Adjusts letter spacing*/
letter-spacing: 1px;
/*Unset bold text*/
font-weight: normal;
}
```
Before:

After:
Choose your color!Make sure to change the **###COLOR CODE###** section of the code to the color of your choosing. The code should look like this: **#848484**
#### Change Text Fields
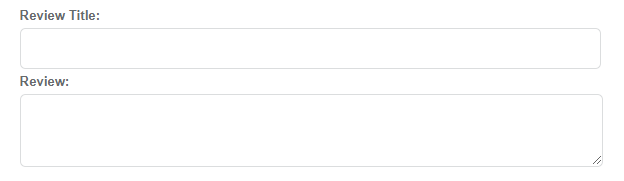
The text fields are the free-text boxes where users can fill in their review title and review content.
The code box below contains several adjustments you can add to change the text field elements. Each change is outlined with a headline in red:
```css
.textarea, .text-field {
/*Bolder border colors*/
border: solid 1px ###COLOR_CODE###;
/*Sharper Edges*/
border-radius: 0;
-webkit-border-radius: 0;
-moz-border-radius: 0;
}
```
Before:
After:
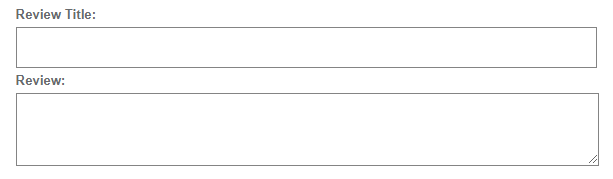
**C****hoose your color!**Make sure to change the **###COLOR CODE###** section of the code to the color of your choosing. The code should look like this: **#848484**
### The Clean Look
Give your emails a clean look by using one or all of the following adjustments:
#### Center Text
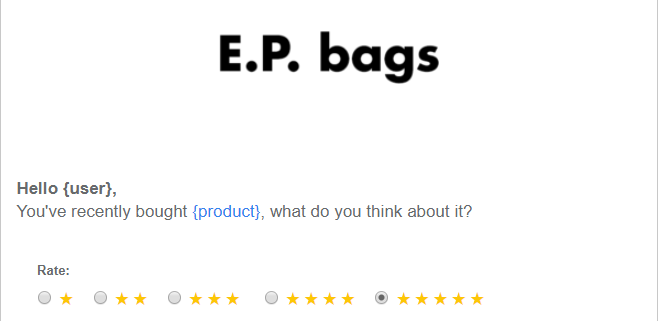
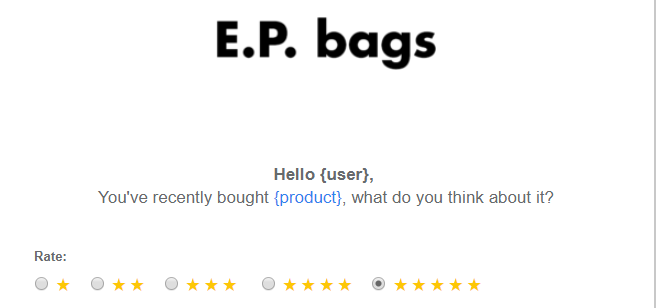
The opening message of email is aligned to the left by default setting. The following code allows you to center it:
```css
.content-header {
text-align: center;
}
```
Before centering:
After centering:
#### Removes Border around Email
```css
.main-table {
border: none;
border-radius: 0;
-webkit-border-radius: 0;
-moz-border-radius: 0;
}
```
Email Border before:
Email Borders After:
#### Email Footer Adjustments
The code box below contains several adjustments you can add to change the footer of the emails. Each change is outlined with a headline in red:
```css
.content-bottom.gray-text-centered {
/* Change text color */
color: ###COLOR_CODE###;
/*Change background*/
background-color: ###COLOR_CODE###;
/*Remove top border*/
border-top: none;
}
```
Choose your color!Make sure to change the **###COLOR CODE###** section of the code to the color of your choosing. The code should look like this: **#848484**
### Add Image Gallery

Image SizeThe image size should be at least 150px, and the image **should be square**
Add the following code to the **Reviews > product_review_request_X.liquid** template under the ****** section:

```css
```
Please Note:Make sure to change all the **###IMAGE URL###** sections of the code to the relevant image URLs
## Widget Customization
Use our [Widget CSS Editor feature](/v1/docs/widget-css-editor) to implement a variety of changes to your on-site Yotpo widgets:
Important!Prior to working on the widget customization, set the widget to **Immediate Update** [here](https://yap.yotpo.com/#/tools/widget/general_settings). When choosing the **Immediate Update** setting, please allow at least 5 minutes for this setting to take effect.
### Change Widget Colors
Save yourself some coding work by changing the widget colors in the [**Look and Feel**](https://yap.yotpo.com/#/tools/widget/look_and_feel) section of your Yotpo account **before enabling the Widget CSS Editor**.
You can then enable the CSS editor and see that it kept those same settings.
**Default Widgets colors:**

**Widget Colors after adjusting "Look & Feel" settings:**

### Access the Widget CSS Editor
All of the following code implementations need to be added to the Widget CSS Editor, which can be found in your Yotpo account.
**To access the editor:**
1. [**Log in**](https://yap.yotpo.com/) to your Yotpo Account
2. Click **On-site Widgets**
3. Click **Widget CSS Editor**
4. **Enable** the editor

### Remove Reviewer Avatars
This code allows you to get rid of the bubbles next to the reviewer names. Add this code under the last line of the editor window:
```css
span.yotpo-icon-profile.yotpo-header-element.pull-left {
display: none!important;
}
.yotpo .yotpo-review .yotpo-main, .yotpo .yotpo-comment .yotpo-main, .yotpo .yotpo-question .yotpo-main, .yotpo .yotpo-onsite-upload .yotpo-main {
margin-left: 0;
}
.yotpo .yotpo-review .yotpo-footer, .yotpo .yotpo-comment .yotpo-footer, .yotpo .yotpo-question .yotpo-footer, .yotpo .yotpo-onsite-upload .yotpo-footer {
margin-left: 0;
}
```
### Adjust Colors and Emphasize the Review Title
Add relevant codes under the last line of the editor window:
```css
/* User name color */
.yotpo .yotpo-review .yotpo-header .yotpo-header-element .y-label.yotpo-user-name, .yotpo .yotpo-comment .yotpo-header .yotpo-header-element .y-label.yotpo-user-name, .yotpo .yotpo-question .yotpo-header .yotpo-header-element .y-label.yotpo-user-name, .yotpo .yotpo-onsite-upload .yotpo-header .yotpo-header-element .y-label.yotpo-user-name {
color: ###COLOR_CODE###;
}
/* Changes to review title */
.content-title.yotpo-font-bold {
font-family: ###WEBSITE_FONT###;
font-size: 20px;
line-height: 30px;
padding-top: 2px;
padding-bottom: 7px!important;
}
```
**Review Title Before:****Review Title After:**
**Please Note:**
- Make sure to change the **###COLOR CODE###** section of the code to the color of your choosing. The code should look like this: **#848484**
- Make sure to change the **###WEBSITE FONT###** section of the code to the font of your choosing.
#### Adjustments for a “Cleaner” Look
The code box below contains several adjustments you can add to "clean up" your Reviews Widget. Each change is outlined with a headline in red, just add relevant codes under the last line of the editor window:
```css
.yotpo-review.yotpo-regular-box {
/*Remove border between reviews*/
border: none;
/*Add spacing between reviews*/
padding: 30px 0 27px;
}
/* spacing within the review */
.yotpo .yotpo-review .yotpo-main, .yotpo .yotpo-comment .yotpo-main, .yotpo .yotpo-question .yotpo-main, .yotpo .yotpo-onsite-upload .yotpo-main {
margin-top: 0!important;
margin-bottom: 22px;
}
/* removes separator next to the “share” at the bottom of the review */
span.yotpo-icon.yotpo-icon-seperator {
display: none;
}
/* removes the text next to the “thumbs up” and “thumbs down” */
span.y-label.label-helpful {
display: none;
}
/* makes review stars smaller */
span.yotpo-review-stars span.yotpo-icon.yotpo-icon-star.rating-star.pull-left, span.yotpo-review-stars span.yotpo-icon.yotpo-icon-empty-star.rating-star.pull-left, s
pan.yotpo-review-stars span.yotpo-icon.yotpo-icon-half-star.rating-star.pull-left {
font-size: 16px;
/*Add spacing above and below stars*/
line-height: 24px;
}
```