Earning Points On-site Module
- DarkLight
Earning Points On-site Module
- DarkLight
Article summary
Did you find this summary helpful?
Thank you for your feedback
The Earning Points widget is a highly-customizable way to display all your campaigns onsite. You can deploy a new widget in minutes, with no development required.
In this article find out how to access, customize, and deploy the Earning Points widget on your site.
Before setting up your Earning Points widget, you'll want to:
- Set up earning rules (previously known as campaigns)
- Configure your Loyalty emails. Read more about configuring Yotpo Triggered Emails or emails via ESP integrations.
Accessing the Editor
Accessing via the Rewards Page Builder
To access and edit the section via the Rewards Page Builder, do the following:
- Log in to your Loyalty admin.
- Click Display On-site > Rewards Page Builder.
- Click Create Rewards Page (or click the existing page you want to edit).
- Click Earning Points Section.
- Proceed below to the next step, "Customize settings".
Accessing as a Module
To access and edit the widget as a module, do the following:
- Go to the Display On-site page.
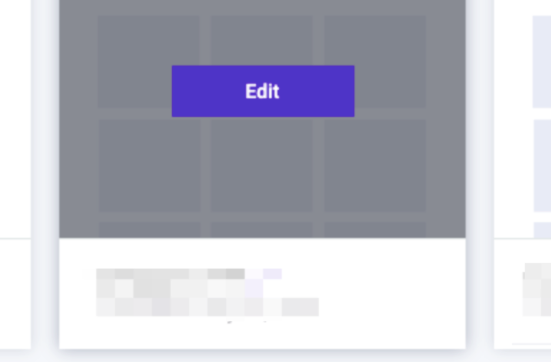
- Click Earning Points.
- Click Edit on the instance you wish to edit or click "+ Create new"
Please note:
- Your widget won't appear on your site until you publish it
- Premium and Enterprise merchants who joined Yotpo Loyalty & Referrals after September 12th, 2023, will be able to see their published widget on-site only after activating the program via the Customer Preview. To learn more about the customer Preview, go to Testing your Loyalty Program on Shopify
Customize Settings
There are three sections in the module editor:
1. Layout
- Dropdown menu to select campaigns
Select which campaigns to display as tiles. The dropdown menu will only let you choose active campaigns that you have predefined from the campaigns page. If you want to add another campaign to the module editor, you first need to add it on the campaigns page, and only then it will appear as an option in the module editor.
If you don't see the campaign you predefined, double-check that the campaign is active and set to visible) - Freestyle tile
A freestyle tile allows you to create a tile with simple text. It will appear on the widget for looks only but is not associated with any campaign in the admin - Arrange the tiles
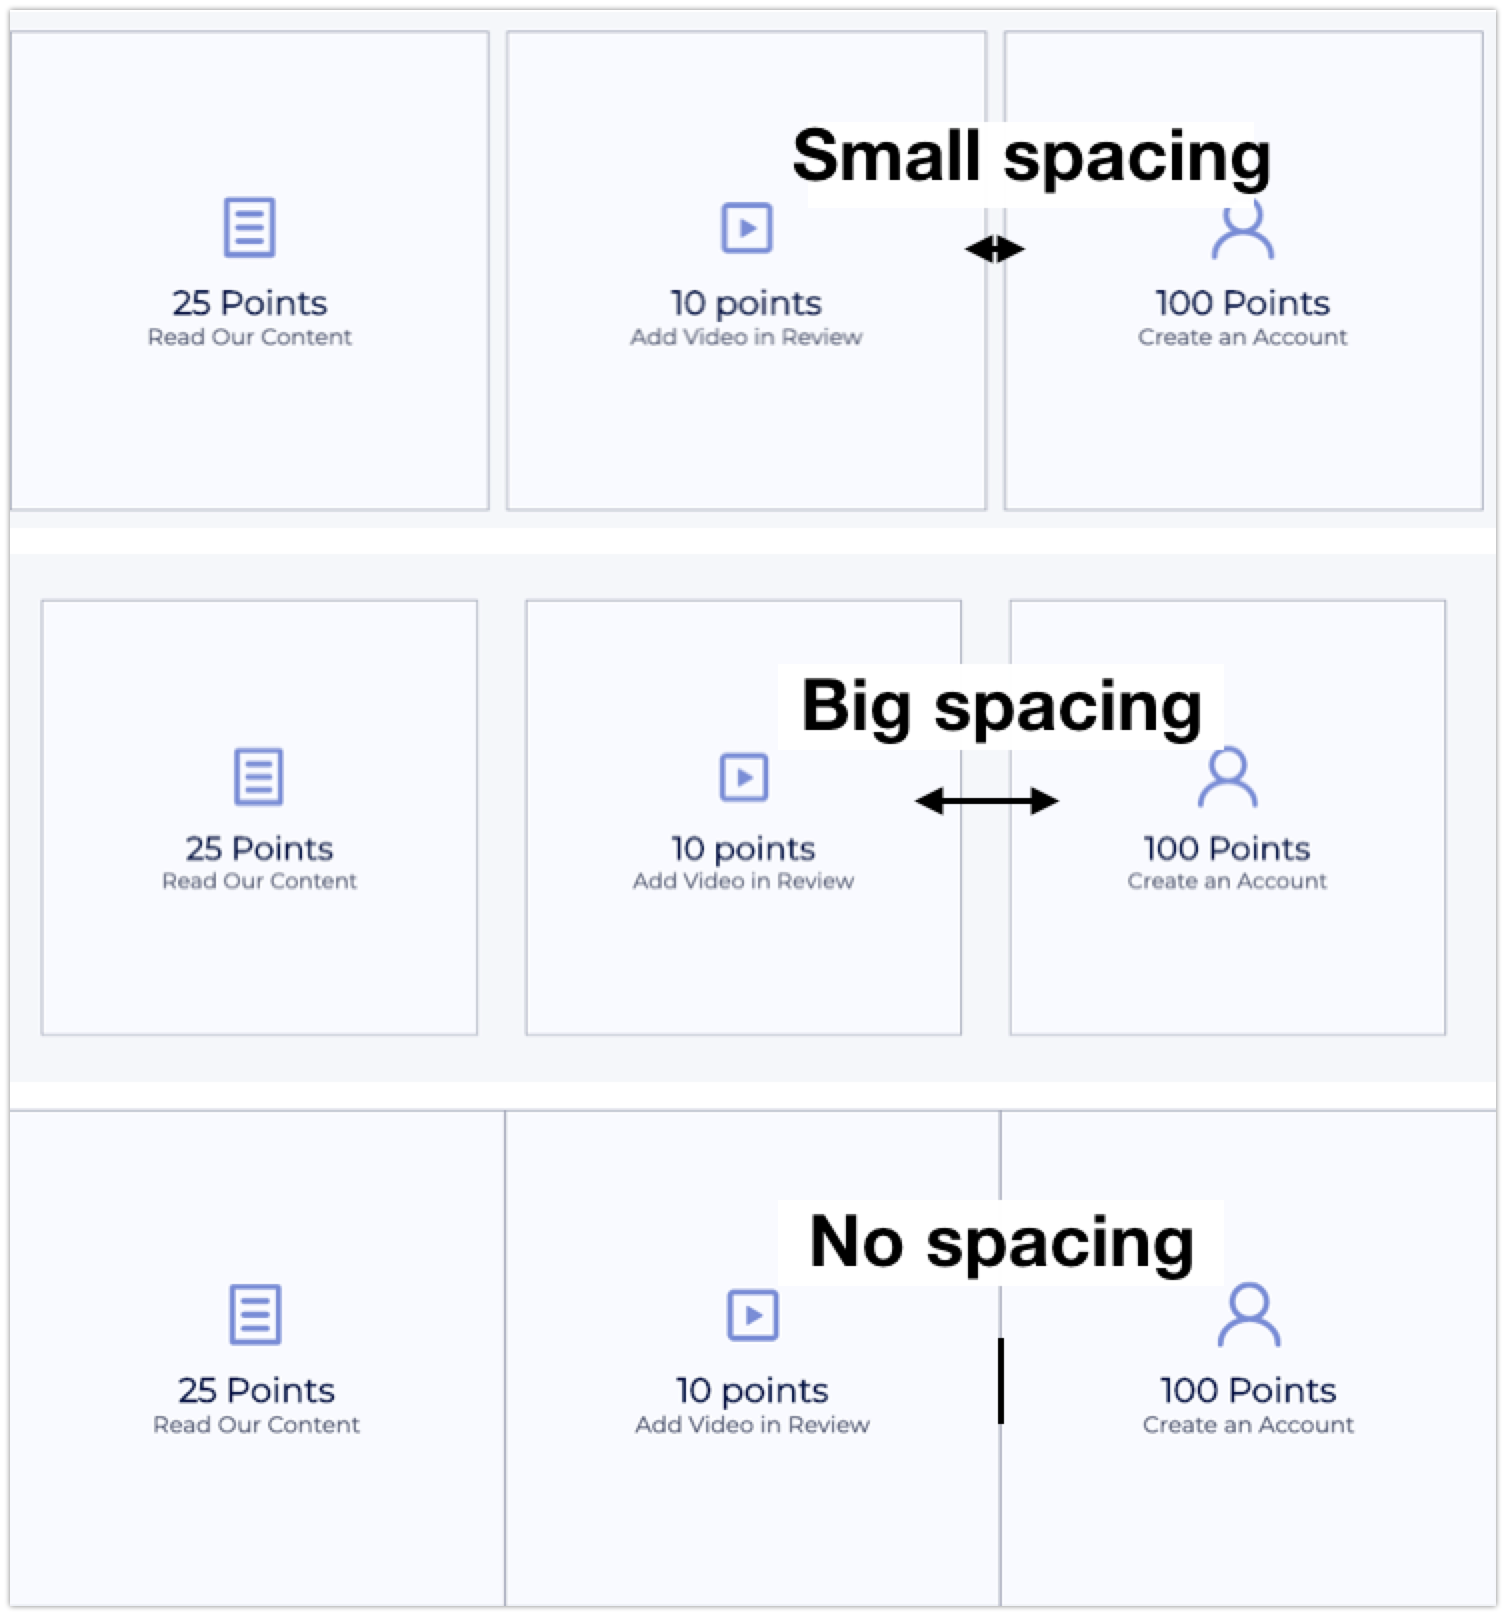
By dragging & dropping on the lefthand map - Tile spacing
Choose how much space to put between tiles. Choices include: Small, Big, or No spacing
2. General appearance
These are the settings that are applied to all tiles at once. To edit individual tiles, go to Customize Tiles.
General appearance > Design & header
Tile design
- Tile color & opacity (apply to all)
- Tile border (apply to all)
Fonts
The primary and secondary fonts are two fonts that will apply in several places throughout your widget.
- Choose primary font
The font you choose here will apply to Tile Upper Text and Module Header - Choose secondary font
The secondary font applies to Tile Lower Text and Fraud prevention text
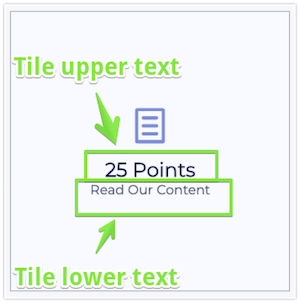
Tile upper text
- Upper text size
- Upper text color
Tile lower text
- Lower text size
- Lower text color
Module header
- Header text
- Header size
Advanced
- CSS editor
If you'd like to make further customizations to your widget, use our embedded CSS editor. If need to make any overriding changes to the Earning Points widget CSS, use this class name before the class you want to override:
.yotpo-widget-campaign-widget.yotpo-widget-override-css {
}
If you are using the CSS editor, you may see a notification asking you to update your Module version from time to time. Read more about Module Versions.
Please note:
Please make sure to use our embedded CSS editor instead of hardcoding directly onto your storefront.
We will not update a specific module instance if we detect that it will impact your live widget. Our team can only detect these issues if the CSS is in our editor.
General appearance > Hover-over state
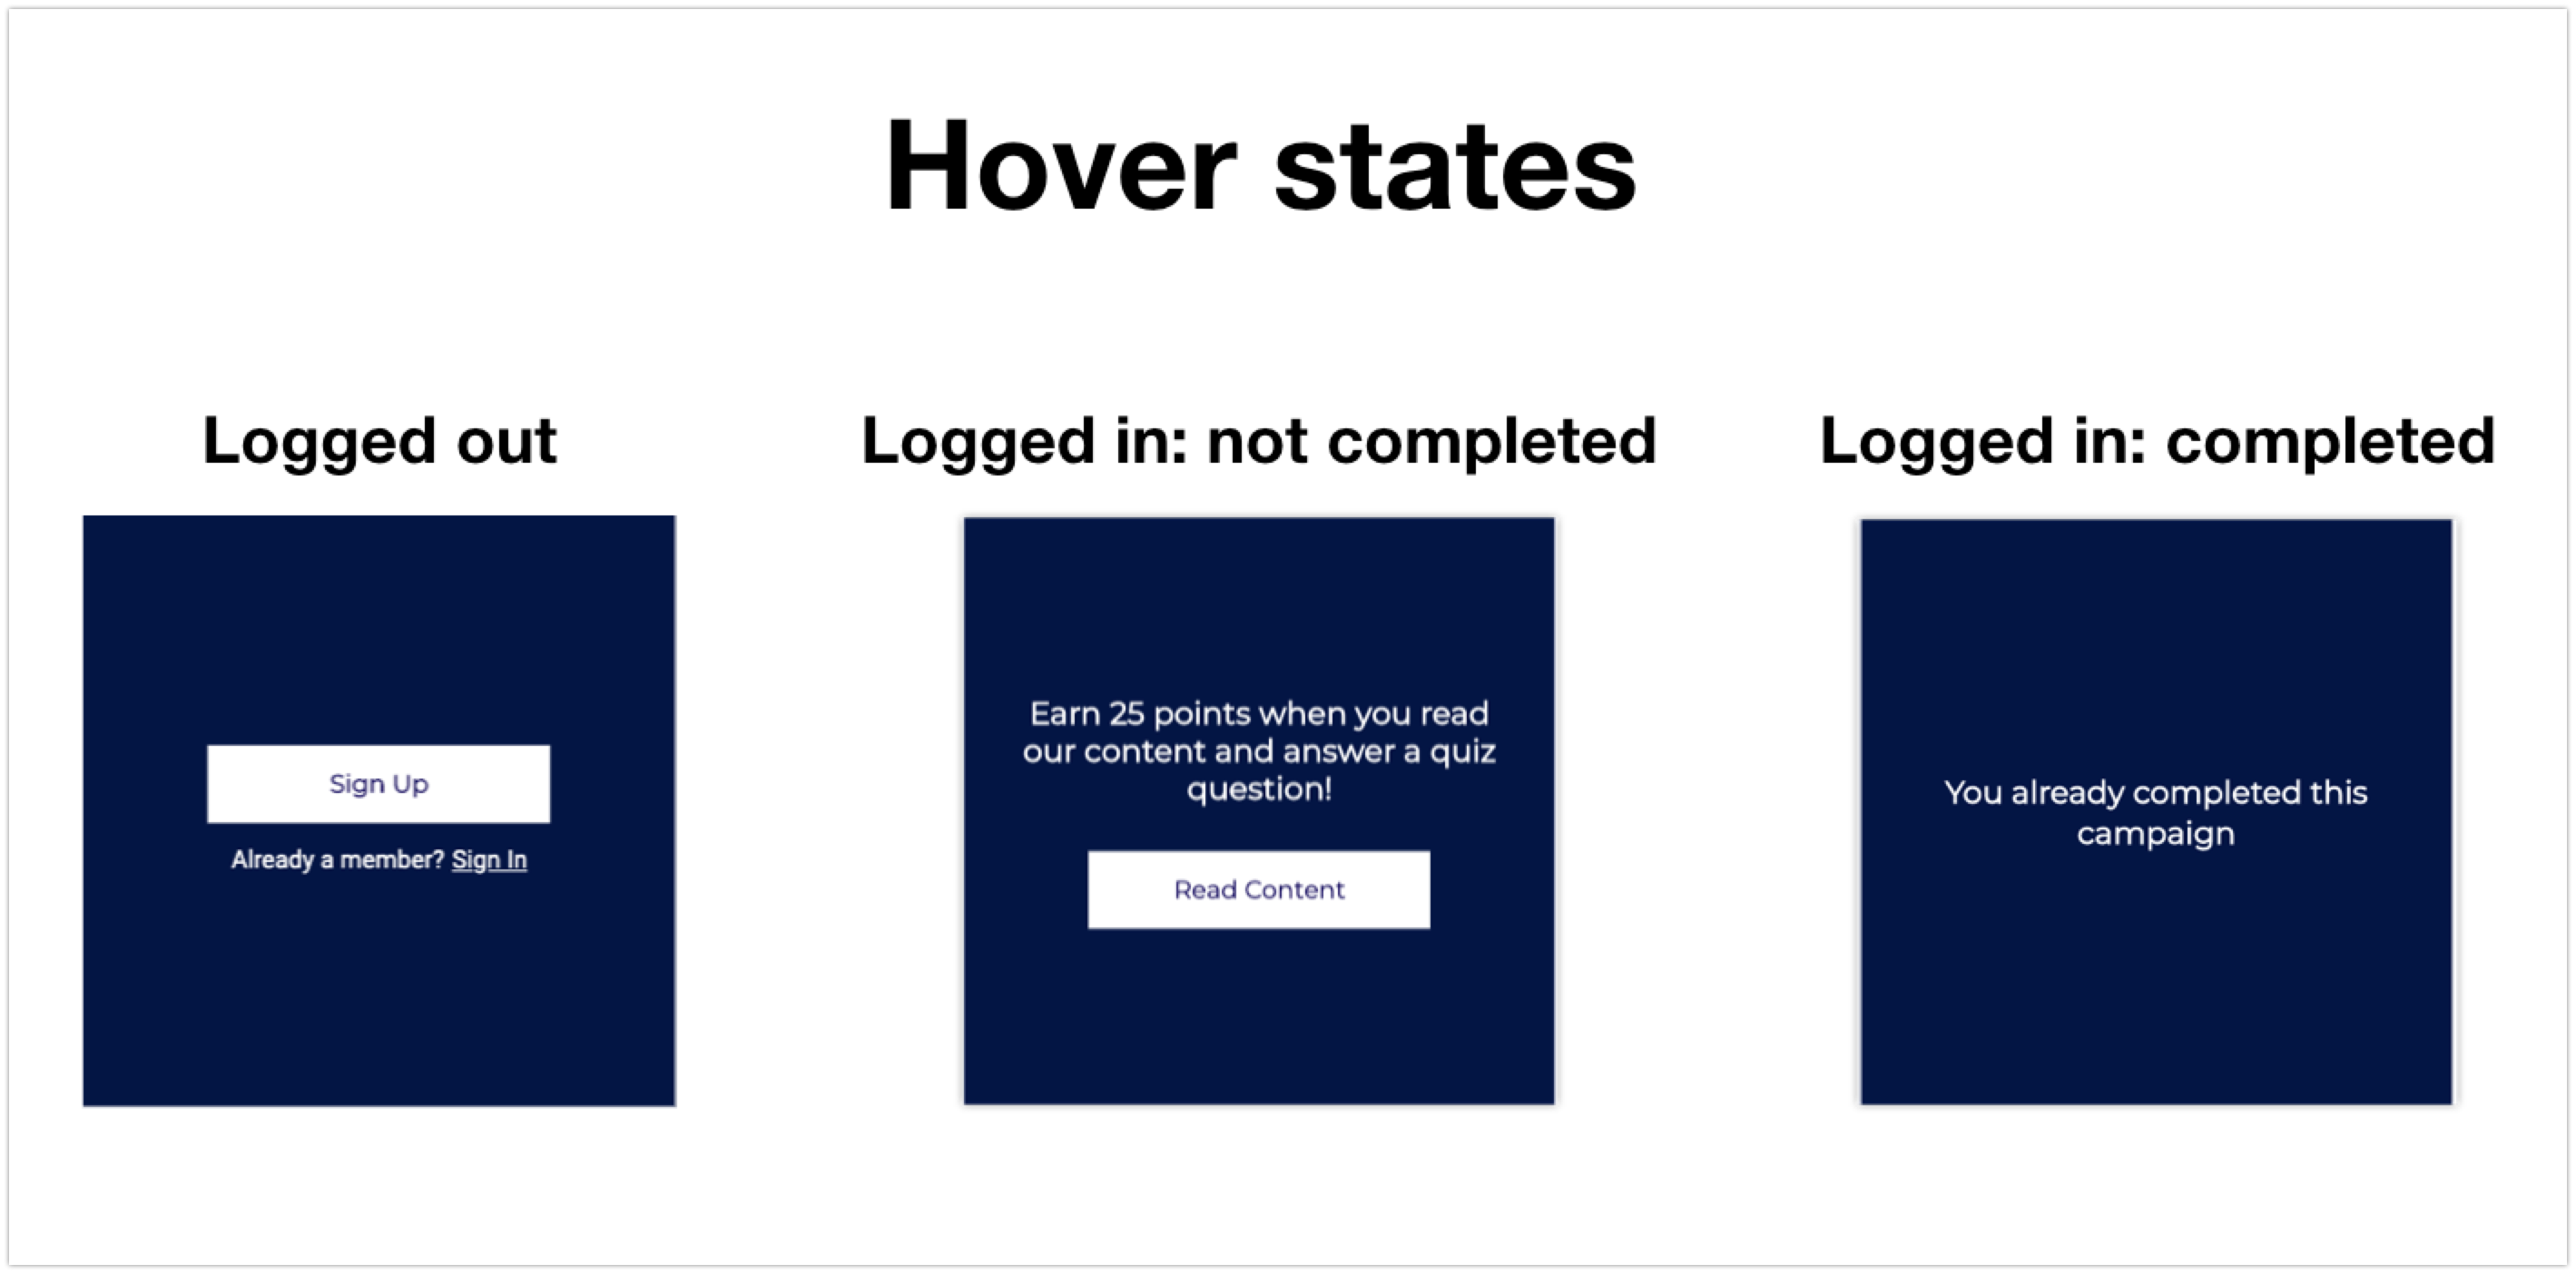
Logged out text
- Button text
- Secondary text
- Link text
Hover over look & feel
- Overlay color & opacity
- Button style
- Button text color
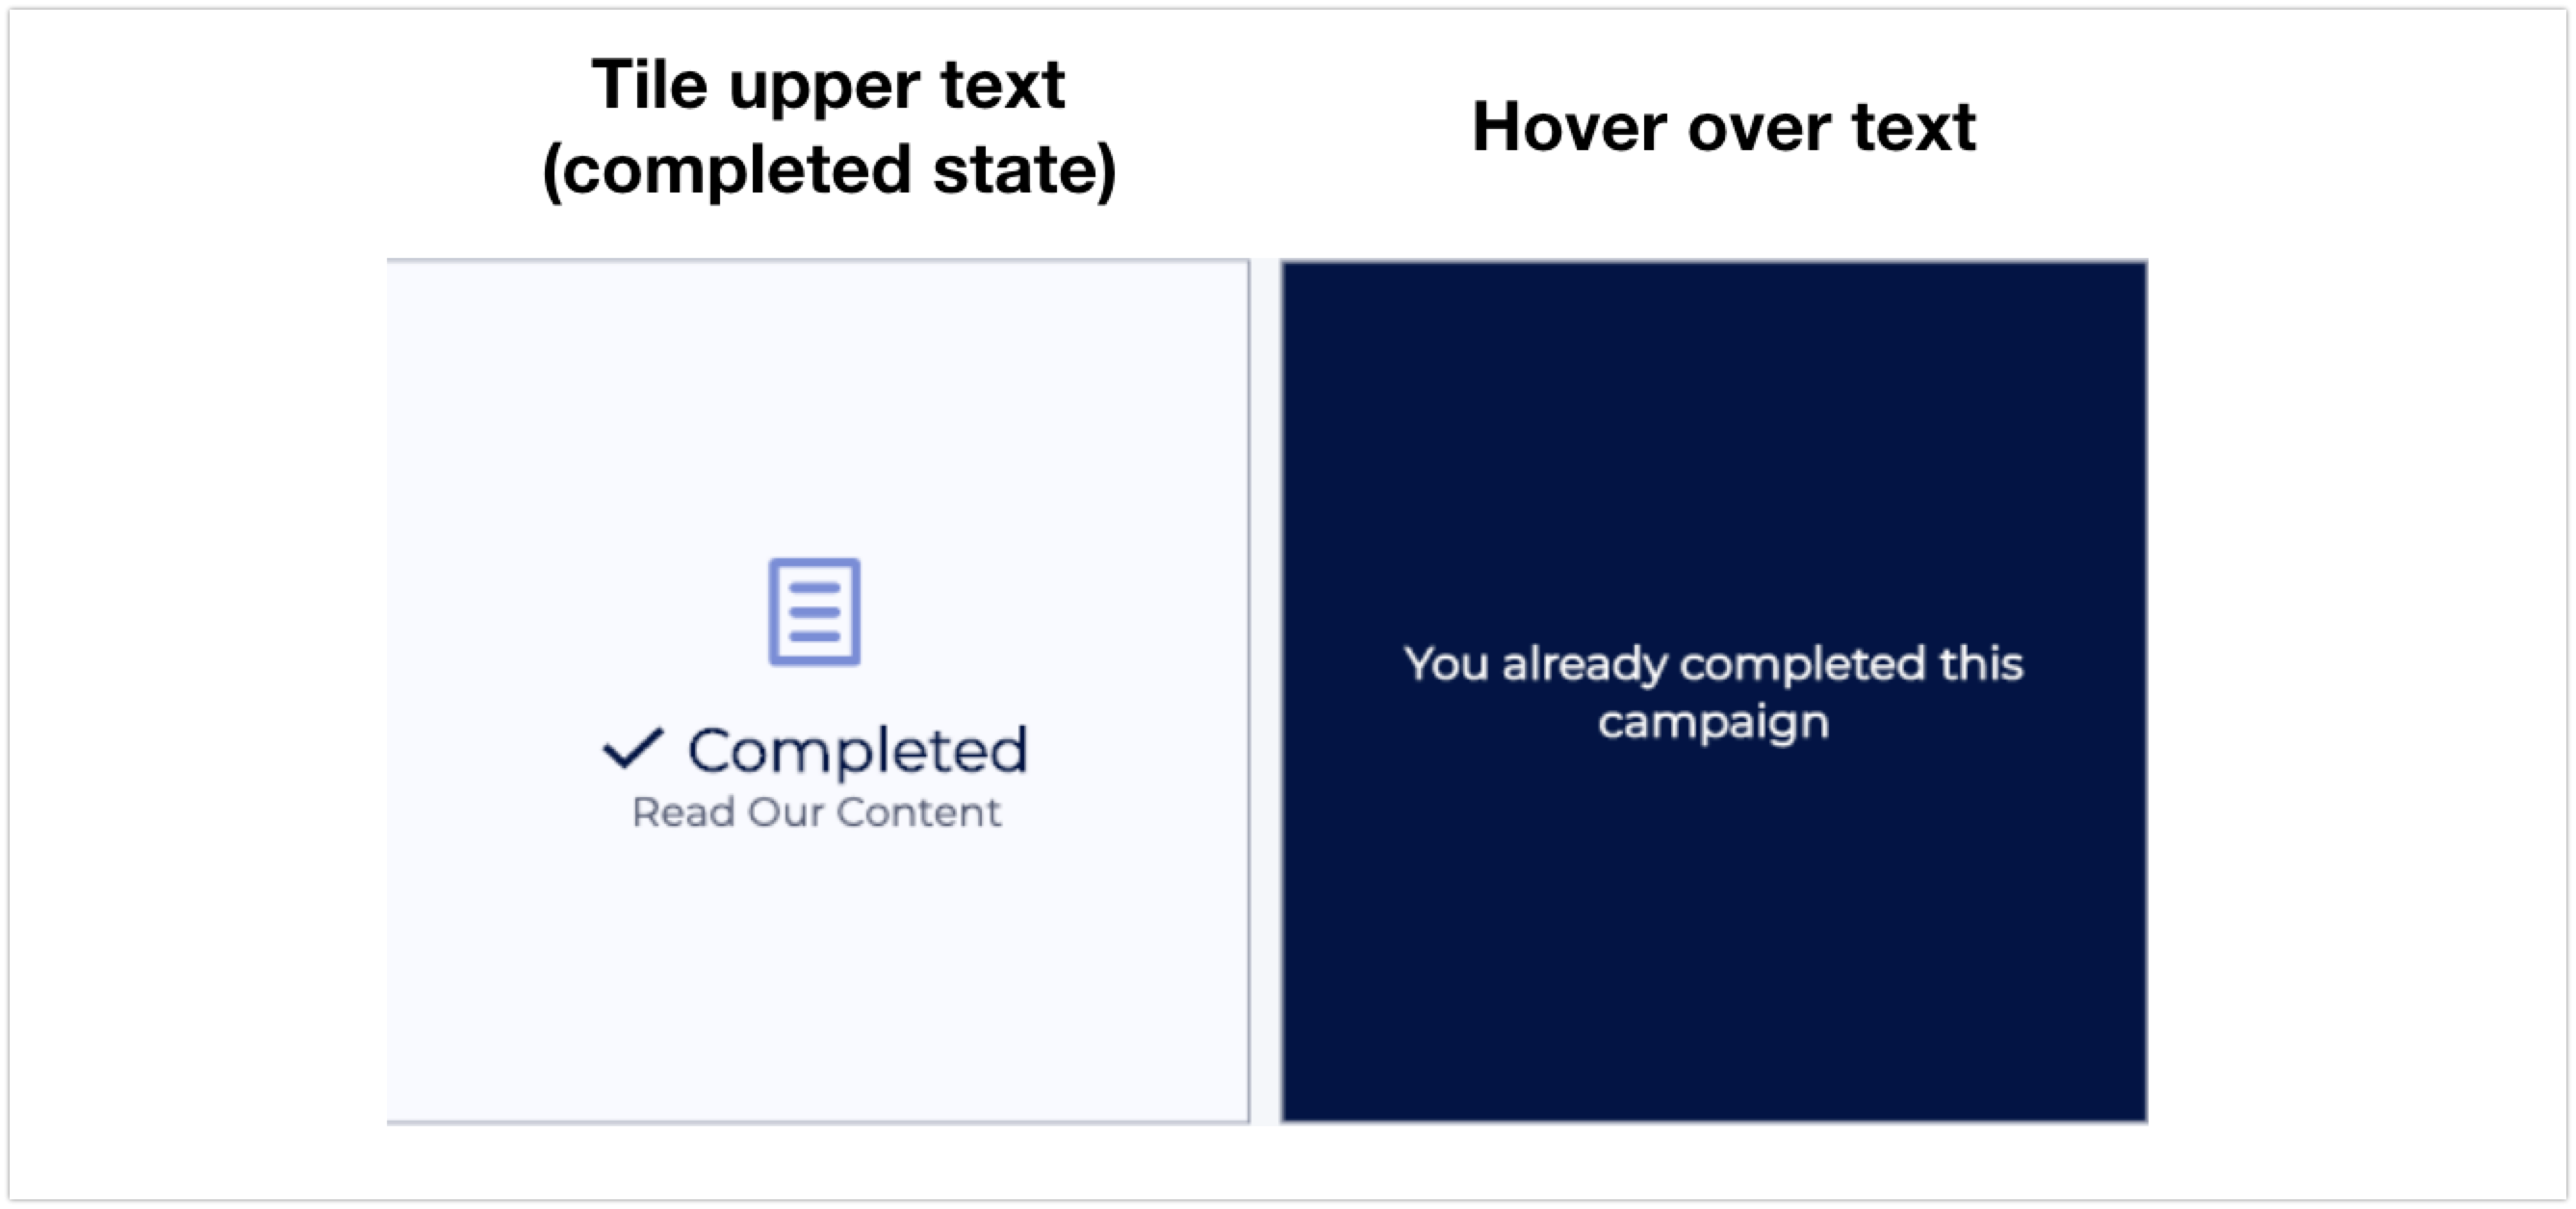
General appearance > Completed campaign state
Completed campaign state
- Tile upper text (completed state)
- Hover over text (logged in)
Eligibility countdown message
This is a message showing a countdown (in hours or days) until the customer is eligible to get another reward for this campaign.
This message will only show on campaigns where you set a “Time between rewards” limit. Use the placeholder *|days|* or *|hours|* to populate with the number of time left until they can participate again.
Days countdown text
Default text: You're eligible to participate again in *|days|* days.
Hours countdown text
Default text: you're eligible to participate again in *|hours|* hours.
3. Customize tiles
Customize tiles > Tile appearance & text
All the settings that can be applied to individual tiles are found hereSelect a tile to customize
Background type (choose either Solid or Image)
- Solid
- Tile color & opacity
- Image
You have the option to upload an image. We recommend a minimum size of 400px by 400px. Images must be smaller than 2MB. We support JPG, PNG, SVG, and GIF.- Overlay color & opacity
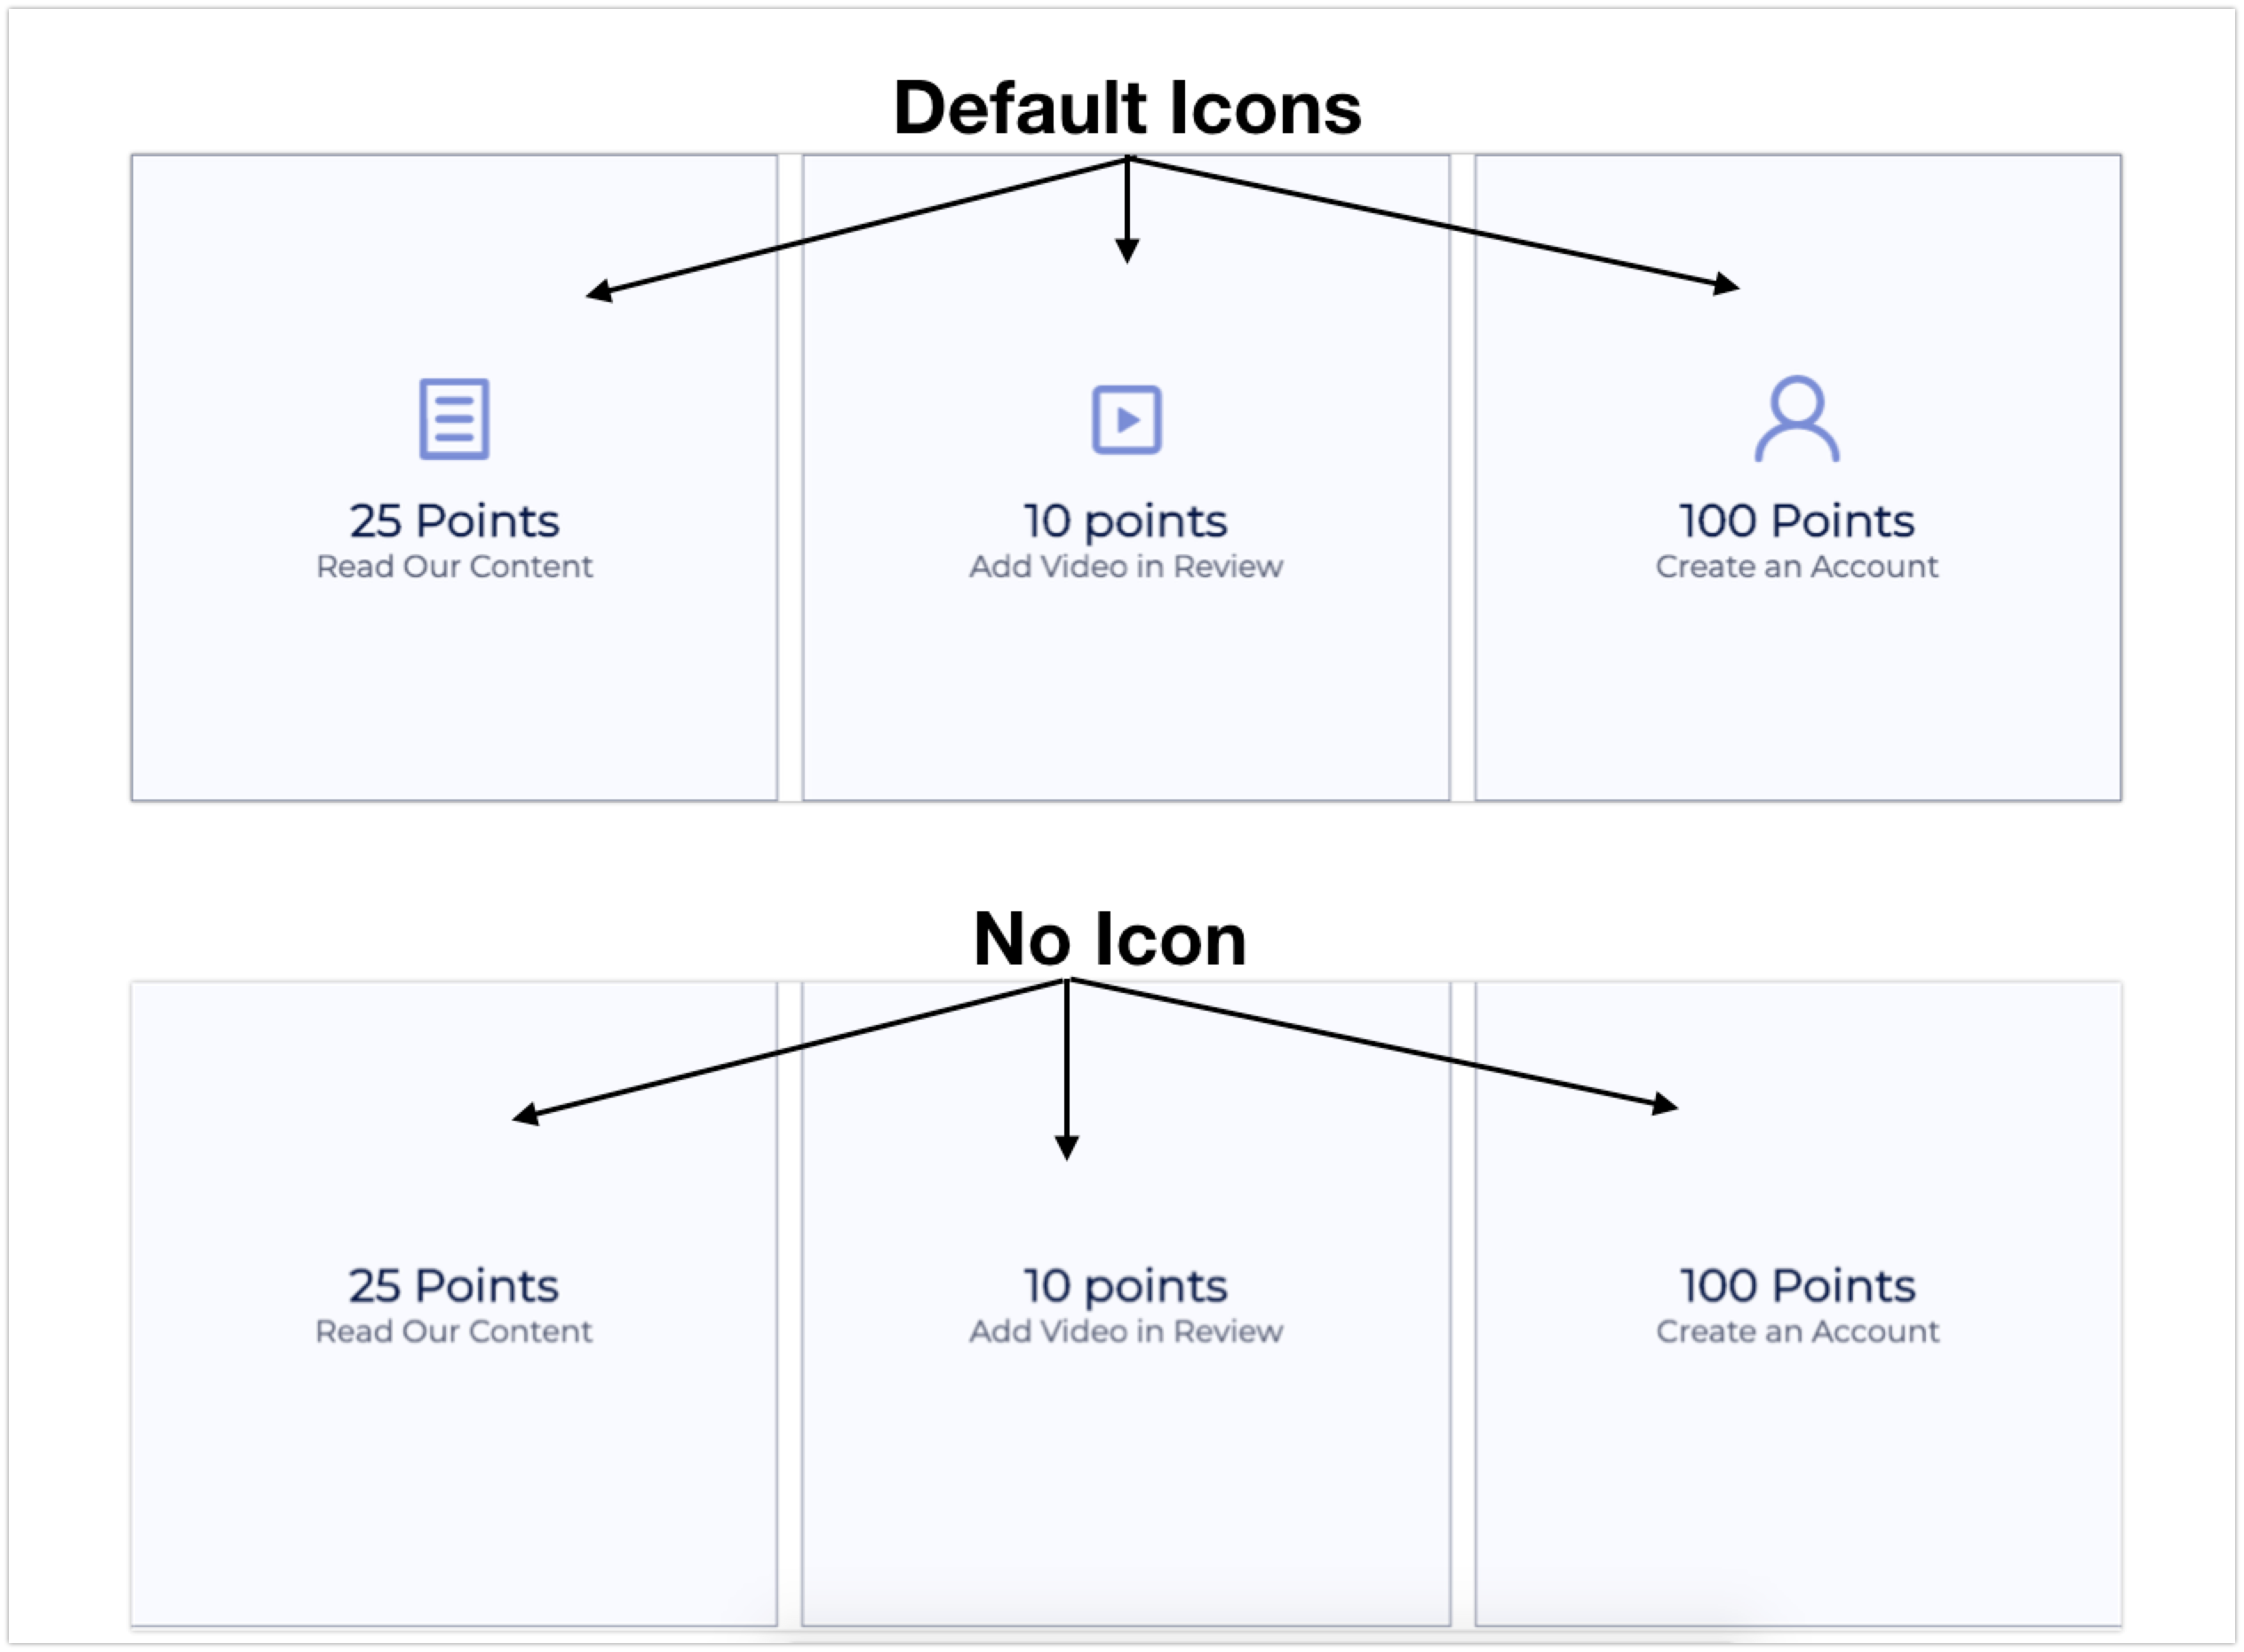
Icon options
- Choose either: Default icon, Upload the custom icon, or No icon
 Tile text - define what text you want to appear
- Tile upper text
- Tile lower text
Customize tiles > Logged in hover over text
- Hover over text (when logged in)
This text will display when a logged-in customer hovers over this tile

- Include birth year?
Choose whether to ask for the birth year by using the dropdown menu to select Yes or No
If No:
- Months text - Edit this text if you want to present months in a different language. Include all 12 months in a comma-separated list.
Additional logged-in hover-over texts
Your campaign logged-in hover-over settings may also include:
- Button text
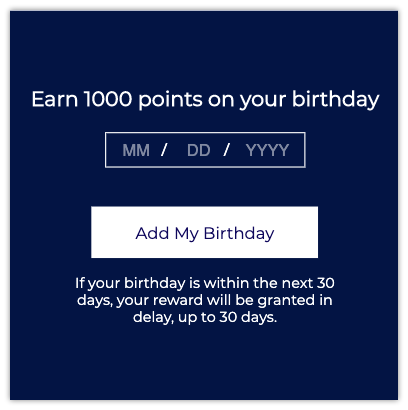
If you have a button related to the tile, this setting will appear - Fraud prevention text (Happy birthday campaign) Read more about the fraud prevention setting
- Completed message
This message appears when the customer is logged in if they have already completed the campaign and they hover over the tile

Publishing your Earning Points module
For your widget to appear on-site, you need to embed some code onto your site. See a guide for Embedding Modules on Shopify.
Publishing via the Rewards Page Builder
If you are building your Earning Points Section with the Rewards Page Builder, follow the steps for publishing your Rewards page.
Active/Inactive
Active
If your widget is active (green dot), this means that any changes you publish will be reflected on your store if the widget snippet is embedded
Inactive
If your widget is inactive (yellow dot), this means that any changes you publish/save will not be reflected on your store. This also means if you had the widget snippet embedded and active on your store before, it will not be visible when inactive.You're all set!
Advanced customizations
There are some additional customizations that can be made to the widget if you are savvy with code. See below the advanced options.
The following attributes can be added to your widget's code snippet, just after your instance ID.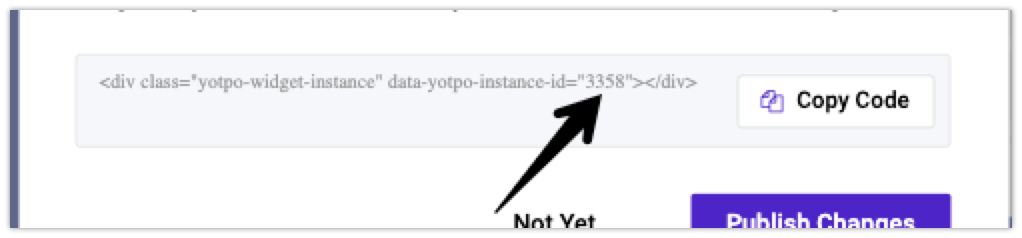
For example, if your widget's code snippet looks like this:
<div class="yotpo-widget-instance" data-yotpo-instance-id="0000"></div>
Then add the attribute here:"
<div class="yotpo-widget-instance" data-yotpo-instance-id="0000" add-attribute-name=value> </div>
If you want to add multiple attributes, add them one after the other, separated by spaces.
List of advanced attributes
error-message-title="insert your own text here!"The general error message title. default: 'Something went wrong.'error-message-description="insert your own text here!"The general error message description. default: 'Try again in a moment.'logged-out-is-redirect-after-login-to-current-page=truelogged-out-store-login-url=loginURLThis is open to editing in admins for all platforms except Shopifylogged-out-store-sign-up-url=SignupURLThis is open to editing in admins for all platforms except Shopifycampaign-item-{id}-receipt-upload-tile-uploading-title="your text here"campaign-item-{id}-receipt-upload-tile-invalid-type-error-message="your text here"campaign-item-{id}-receipt-upload-tile-invalid-size-error-message="your text here"
Was this article helpful?